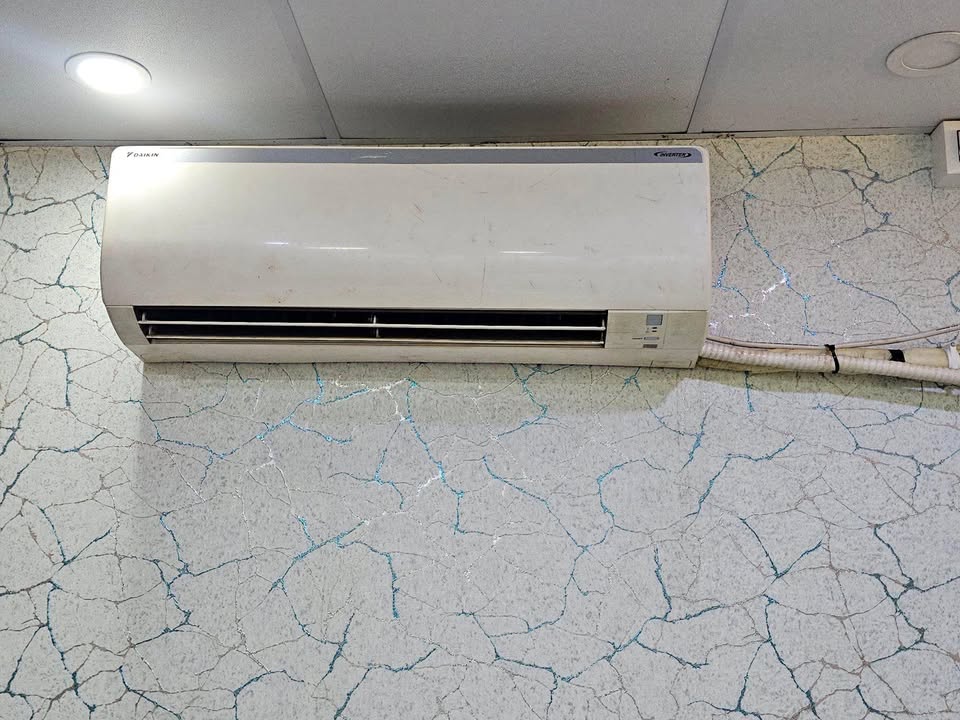
Daikin split and window ACs use a self-diagnosis system to alert users about faults. When something goes wrong, the unit displays an error code through the remote control or an LED blink pattern on the indoor unit. Some codes point to genuine component faults, like a sensor or PCB issue, while others are protection codes.
These appear when the AC shuts down on purpose, such as during high pressure or overload, to prevent damage. This guide covers both split and window Daikin AC models and is based on official Daikin user manuals, made simple for Indian homeowners facing sudden AC breakdowns.
Daikin ACs display error codes through the remote or LED blinks to flag specific faults.
Common causes include sensor faults, PCB issues, refrigerant leaks, voltage problems, and communication failures between indoor and outdoor units.
A quick reference table helps you match error codes to their meaning and possible fix.
Codes A1 to CC point to indoor unit issues like PCB, drain pump, sensors, and fan motor faults.
Codes E1 to H9 relate to outdoor unit problems such as compressor, pressure, and fan motor faults.
Codes J1 to LC cover thermistor faults and inverter or control board overheating.
Codes P1 to UH indicate voltage issues, installation errors, and refrigerant or communication faults.
Common Daikin AC problems include poor cooling, water leakage, remote issues, and airflow trouble.
Start with basic fixes like a power reset, filter cleaning, and checking airflow before calling for service.
Call Urban Service Plaza for a technician visit if the error repeats, the AC malfunctions, or you notice a burning smell, hot power cord, or water leakage.
Daikin AC Error Code Explanation With Possible Solutions
A1 – Indoor PCB fault
What Causes This Error:
Moisture entering the PCB during humid weather or servicing
Voltage surges, dust buildup, or corrosion damaging circuit tracks
Loose or burnt wiring connections
How to Fix The Error:
Turn off the AC and inspect for burnt marks or moisture near the PCB
Clean dust gently with a soft brush
If damage is visible, call a technician to repair or replace the PCB
A3 – Drain pump/level control abnormal
What Causes This Error:
Clogged condensate drain pipe blocked by dust, algae, or debris
Faulty or worn-out condensate pump
Incorrect drain pipe slope after installation
How to Fix The Error:
Check and clean the drain pipe and drain tray
Flush the line with a vacuum or hose to clear blockage
If pooling continues, ask a technician to inspect or replace the pump
A5 – Antifreeze / heat exchanger overheat
What Causes This Error:
Dirty air filter or coil restricting airflow
Low refrigerant causing the coil to overcool and freeze
Faulty coil sensor failing to stop the compressor in time
How to Fix The Error:
Turn off the AC and let the ice melt fully
Clean the filter and evaporator coil
Call a technician to check refrigerant level and sensor function
A6 – Indoor fan motor fault
What Causes This Error:
Weak or faulty fan motor capacitor
Jammed or worn-out bearings inside the blower
Burnt or weak motor winding
How to Fix The Error:
Check if the fan spins freely by hand with power off
Test and replace the capacitor if weak
Call a technician to replace the motor if winding is damaged
AH – Electrical air cleaner fault
What Causes This Error:
Fault in the electrical air-purifying filter system
Dust accumulation short-circuiting the cleaner unit
Wiring or connector issue in the air cleaner module
How to Fix The Error:
Clean the electrical air cleaner filter
Check its wiring connection for looseness
Contact a technician if the fault continues after cleaning
C4 – Indoor heat exchanger (1) sensor short/open
What Causes This Error:
Sensor wire damaged, loose, or corroded
Sensor exposed to excess moisture
Natural wear of the thermistor over time
How to Fix The Error:
Do not attempt DIY sensor replacement, as calibration is needed
Call a technician to test sensor resistance
Replace the faulty sensor with a genuine part
C5 – Indoor heat exchanger (2) sensor short/open
What Causes This Error:
Same causes as C4, affecting the second heat exchanger sensor
Common in dual-sensor coil designs for precise temperature control
Sensor aging or moisture damage
How to Fix The Error:
Call a technician to check both coil sensors together
Replace the faulty sensor using an OEM part
Ensure correct sensor placement after replacement
C7 – Louver limit switch error
What Causes This Error:
Swing flap obstructed by dust or foreign objects
Broken flap lock, hinge, or plastic coupling
Faulty swing motor or loose motor connector
How to Fix The Error:
Power cycle the AC and check if the flap resets
Clean the flap area of dust and obstructions
Call a technician if the motor or coupling needs replacement
Power plug disconnected or ON/OFF timer set incorrectly
What to Do: Check the power supply, breaker, and plug connection, then verify the timer settings. Contact your AC installer if the fault continues after these checks.
What to Do: Check the power supply and replace the fuse if needed, then reset the timer. Contact your AC installer if the problem persists after these steps.
Compressor does not operate for the first 3 minutes after startup
Possible Causes:
Built-in compressor protection against frequent starting
What to Do: Simply wait 3 to 4 minutes, as the compressor will start automatically once the protection timer clears.
Blocked air inlet or outlet on the indoor or outdoor unit
Interference from lightning or radio waves
What to Do:Clean the air filters and remove any obstructions from the inlet or outlet. Turn the breaker off and on again, and contact the service shop if the lamp keeps flashing.
Operation stops suddenly (Operation lamp ON)
Possible Causes:
Sudden voltage fluctuation triggering the AC’s protection system
What to Do: Wait for the AC to resume operation automatically. If it does not restart on its own, check the power supply and call a technician.
AC stops generating airflow during operation
Possible Causes:
The AC reaches the set temperature and reduces airflow to avoid blowing excess cool air (heating) or raising humidity (cooling)
What to Do: No action is needed, as airflow resumes automatically once the room temperature changes again.
HEAT operation stops suddenly with a flowing sound
Possible Causes:
The outdoor unit is removing frost buildup (defrosting)
What to Do: Wait about 4 to 12 minutes for heating to resume once the defrosting cycle completes.
HEAT operation cannot be selected (heat pump model)
Possible Causes:
Jumper (J8) inside the unit has been cut, disabling heat mode
What to Do: Contact the service shop to check and restore the jumper setting, as this requires a technician’s intervention.
Hot air does not flow immediately after starting HEAT mode
Possible Causes:
The system waits until the indoor heat exchanger reaches a suitable temperature before releasing air
What to Do: Wait 1 to 4 minutes, since this is normal heat pump behavior and not a fault.
Abnormal functioning during operation
Possible Causes:
Interference from lightning or strong radio waves affecting the control system
What to Do: Turn the breaker off, turn it back on, and try operating the AC with the remote control again.
Outdoor fan rotates even when the AC is not operating
Possible Causes:
The outdoor fan continues briefly for system protection
Very high outdoor temperature triggers additional fan rotation for protection
What to Do: No action is needed, since this is normal behavior that stops automatically after about 60 seconds.
Cooling effect is poor
Possible Causes:
Dirty air filters, blocked air inlet/outlet, incorrect temperature setting, or open doors and windows
What to Do: Clean the filters, remove any blockages, close doors and windows, and set an appropriate temperature for effective cooling.
Heating effect is poor
Possible Causes:
Very low outdoor temperature reducing heat pump capacity
Dirty filters or blocked airflow
What to Do: Clean the filters and remove obstructions, and consider using a supplementary heater during extreme cold as Daikin recommends.
Airflow is too low
Possible Causes:
Dirty air filter, blocked air suction or discharge, open doors or windows, or temperature setting not high enough
What to Do: Clean the filter, clear any obstructions, close doors and windows, and adjust the temperature setting accordingly.
AC runs but airflow is insufficient
Possible Causes:
Same causes as low airflow, including dirty filters, blocked vents, or an incorrect fan speed setting
What to Do: Clean the filters, check the fan speed setting, and ensure the vents remain unobstructed.
Discharge air has a bad odor
Possible Causes:
Odors from cigarettes, smoke particles, cooking, or perfume settling on the indoor coil
What to Do: Clean the air filters regularly, and get the indoor unit professionally washed if the odor persists.
Indoor unit gives out unpleasant odor
Possible Causes:
Room smells such as smoke or cooking odors get absorbed into the unit and circulate with airflow
What to Do: Clean the filters and coil regularly, and have the indoor unit professionally cleaned if the smell continues.
Mist comes out from the indoor unit
Possible Causes:
Room air is rapidly cooled by the cold airflow during cooling operation, forming visible mist
What to Do: No action is needed, as this is a normal effect of high humidity meeting cold airflow.
Water flowing from the indoor unit
Possible Causes:
Installation issue, high humidity, blocked drain pan or pipe, low refrigerant gas, or the AC not tilted correctly
What to Do: Switch off the unit and call a dealer or technician to inspect the drainage system and installation angle.
Condensation on the front air grille
Possible Causes:
High air humidity after extended operation
Temperature set too low
What to Do: Increase the temperature setting slightly and run the unit at high fan speed to reduce condensation.
No drain water during cooling or dry operation (possible water leakage)
Possible Causes:
Blocked drain pipe or pan, low refrigerant, or dirty cooling coil affecting condensation
What to Do: Check the drain pipe for blockage, and call a technician to inspect the refrigerant level and coil condition.
Moisture condenses on outdoor refrigerant piping and drips
Possible Causes:
Normal condensation forming on cool outdoor piping during COOL or DRY mode
Frost melting into water during HEAT mode defrosting
What to Do: No action is needed, as this is normal operation unless the dripping becomes excessive.
Remote controller not working properly
Possible Causes:
Weak or dead batteries
Dust on the IR sensor or obstruction between the remote and unit
What to Do: Replace both batteries with new AAA alkaline cells and clean the signal sensor with a soft cloth.
No remote controller signals displayed|
Possible Causes:
Dying batteries causing the remote controller to malfunction
What to Do: Replace all batteries with new AAA.LR03 (alkaline) batteries to restore normal signal transmission.
Remote controller sensitivity is low
Possible Causes:
Weak batteries or dust buildup on the signal transmitter or receiver
What to Do: Replace the batteries and wipe the sensor area with a soft cloth to remove any dust.
Remote controller display is dim or black|
Possible Causes:
Batteries running low on power
What to Do: Replace both batteries with new ones of the same type to restore the display.
Remote controller display behaves abnormally
Possible Causes:
Weak batteries affecting the remote’s internal circuit
What to Do: Replace both batteries together with new AAA alkaline batteries to fix the display behavior.
ON/OFF Timer does not operate according to the settings
Possible Causes:
The ON/OFF Timer and Weekly Timer are set to the same time, causing a conflict
What to Do: Check both timer settings and change or deactivate the Weekly Timer as needed to resolve the conflict.
For your expired warranty Daikin AC & other appliance repair contact Daikin service centre in Kolkata for sameday doorstep repair service.
When to Call Daikin Service Centre for Technician Visit?
Call the service centre right away if the power cord feels abnormally hot or looks damaged in any way.
An abnormal sound during operation means you should stop using the AC and contact a technician.
If the safety breaker, fuse, or earth leakage breaker cuts off operation frequently, the unit needs professional inspection.
A switch or button that often fails to work properly is a sign to call the service centre.
A burning smell from the AC means you should turn off the breaker and call for service immediately.
Never attempt to repair or modify the air conditioner yourself, as incorrect work can cause electric shocks or fire.
Continued operation in any abnormal condition can lead to further trouble, electric shocks, or fire.
Always turn off the breaker first before calling the service shop for any of these issues.
Contact the dealer for system relocation or remodelling instead of handling it on your own.
Daikin AC error codes help you catch problems early and understand what’s wrong. Start with simple steps like a power reset, filter cleaning, and airflow checks.
Avoid repeated restarts if compressor, PCB, or voltage codes appear, as this can worsen the fault. If the same error returns or the AC keeps malfunctioning, contact Urban Service Plaza for professional diagnosis and repair.
 Call Technician