 Call Technician

Electrolux AC Error Codes & Troubleshooting Guide (Split & Window AC)
Electrolux AC Error Code Finder
Type your error code below to see what it means and the quick fix to try.
Modern Electrolux air conditioners come with a self-diagnosis feature. When something goes wrong inside the unit, the display shows a specific error code instead of just switching off. This helps users and technicians spot the exact problem quickly, without opening the unit.
Not all codes mean the same thing. Codes like E1, E3, or F1 usually point to a genuine fault, such as a sensor or fan issue. Codes like P1, P7, or L2 are protection codes. These appear when the AC shuts down a function on purpose to prevent damage, often due to voltage issues or overheating.
This guide covers Electrolux error codes for both Split and Window AC models sold in India. It is based on official Electrolux user manuals, so you get accurate, model-specific information you can trust before calling a technician.

Quick Find Your Electrolux Inverter AC Error Codes
| Error Code & Meaning | Quick Solutions |
|---|---|
| EE – Indoor machine EE fault ODU Light Flash: 25 | Restart the AC. If the code returns, the PCB needs a technician check. |
| E1 – Indoor fan fault ODU Light Flash: 26 | Check for blockage in the indoor fan. Call a technician if the fan doesn’t move. |
| E2 – Indoor fan zero-crossing detection abnormal ODU Light Flash: 27 | Restart the AC. If it repeats, the fan motor or PCB needs professional testing. |
| E3 – Indoor coil temperature sensor fault ODU Light Flash: 28 | Restart the unit. Have the sensor tested if the error stays. |
| E4 – Indoor ambient temperature sensor fault ODU Light Flash: 29 | Restart the AC. Get the room sensor tested by a technician if needed. |
| E0 – Outdoor EE fault ODU Light Flash: 1 | Turn off the mains power for a few minutes and restart. Call a technician if unresolved. |
| E6 – Indoor and outdoor communication fault ODU Light Flash: 2 | Check wiring between indoor and outdoor units. Call a technician if the error stays. |
| E8 – Outdoor communication fault ODU Light Flash: / | Inspect outdoor unit wiring and connections. Contact a technician if it continues. |
| F1 – Compressor starting abnormal (phase failure or reverse) ODU Light Flash: 4 | Check power supply phase and wiring. Needs a technician visit. |
| F2 – Compressor out-of-step fault ODU Light Flash: 5 | Turn off AC and restart after a few minutes. Call a technician if it repeats. |
| F3 – IPM module fault ODU Light Flash: 6 | Do not keep restarting. Call a technician to inspect the module. |
| F4 – Compressor shell roof fault/protection ODU Light Flash: 7 | Let the compressor cool down. Get it checked by a technician. |
| F5 – Discharge temperature sensor fault ODU Light Flash: 8 | Restart the AC. Have the sensor tested if the fault continues. |
| F6 – Suction temperature sensor fault ODU Light Flash: 9 | Restart the unit. Sensor needs technician inspection if it repeats. |
| F7 – Outdoor coil temperature sensor fault ODU Light Flash: 10 | Clean the outdoor unit. Call a technician if the code stays. |
| F8 – Outdoor ambient temperature sensor fault ODU Light Flash: 11 | Restart the AC. Get the outdoor sensor tested if needed. |
| F9 – Outdoor DC fan fault ODU Light Flash: 12 | Check the outdoor fan for obstruction. Call a technician if it doesn’t spin. |
| P1 – Outdoor machine AC current protection ODU Light Flash: 13 | Check power supply and outdoor unit load. Call a technician if it trips again. |
| P2 – Compressor phase current protection ODU Light Flash: 14 | Get wiring and compressor checked by a technician. |
| P3 – Outdoor unit over-high/over-low AC voltage protection ODU Light Flash: 15 | Check voltage supply. Use a stabilizer if voltage is unstable. |
| P4 – DC voltage over-high or over-low voltage protection ODU Light Flash: 16 | Check power supply stability. Call a technician if it persists. |
| P5 – IPM over-high temperature protection ODU Light Flash: 17 | Let the unit cool down and clean the outdoor coil. Call a technician if it repeats. |
| P6 – Discharge temperature overheat protection ODU Light Flash: 18 | Clean the coils and check refrigerant level. Technician visit needed. |
| P7 – Cooling indoor coil anti-freezing protection ODU Light Flash: 19 | Check for low airflow or dirty filter. Clean filter and restart. |
| P8 – Cooling outdoor coil overheat protection ODU Light Flash: 20 | Clean the outdoor unit and check for blocked airflow. |
| P9 – Heating indoor coil overheat protection ODU Light Flash: 21 | Restart AC. Call a technician if the fault stays. |
| PC – Cooling outdoor ambient temperature over-low protection ODU Light Flash: 22 | Normal in very cold weather. Call a technician if it occurs in normal conditions. |
| PH – Heating outdoor ambient temperature over-high protection ODU Light Flash: 23 | Normal in very hot weather. Call a technician if it appears otherwise. |
| L1 – Drive bus voltage over-high protection ODU Light Flash: 31 | Check power supply. Call a technician if the error repeats. |
| L2 – Drive bus voltage over-low protection ODU Light Flash: 32 | Check power supply. Call a technician if the error repeats. |
| L3 – Drive phase current overload fault ODU Light Flash: 33 | Get compressor and wiring checked by a technician. |
| L4 – Phase current sampling abnormal ODU Light Flash: 34 | Needs professional inspection of the PCB and wiring. |
Note: These codes and ODU light flash counts apply to Electrolux inverter split AC models. The IDU display shows the error code automatically whenever a fault occurs. Non-inverter or window AC models may use fewer codes or different blinking patterns.
Hire Our Expert AC Technician for Same Day Home Service in Kolkata
TL;DR:
Electrolux AC Error Code Explanation With Possible Solutions
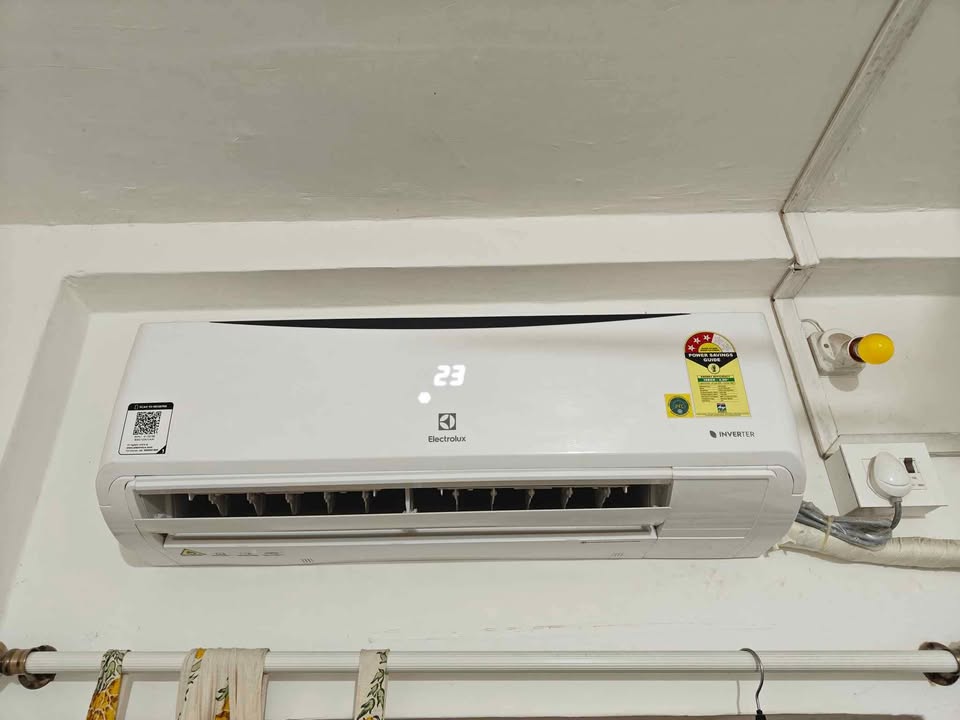
EE – Indoor Machine EE Fault
What Causes This Error: This error points to a fault in the indoor unit’s EEPROM, the memory chip that stores the AC’s operating settings, and it usually appears after a power surge, a firmware glitch, or PCB damage.
How to Fix The Error:
E1 – Indoor Fan Fault
What Causes This Error: This code shows up when the indoor blower fan does not spin properly, often due to a weak capacitor, worn bearings, loose wiring, or a burnt fan motor winding.
How to Fix The Error:
E2 – Indoor Fan Zero-Crossing Detection Abnormal
What Causes This Error: The PCB uses a zero-crossing signal to track fan motor speed accurately, and this error appears when that signal is missing or irregular due to a faulty sensor circuit or damaged PCB component.
How to Fix The Error:
Get your AC fixed fast with Urban Service Plaza, the trusted choice for AC repair service in Kolkata on out-of-warranty appliances. Book our skilled technicians for reliable, same-day doorstep repair.
E3 – Indoor Coil Temperature Sensor Fault
What Causes This Error: A faulty coil sensor cannot send correct resistance values to the PCB, so it fails to track evaporator coil temperature properly, often due to sensor damage or a loose connector.
How to Fix The Error:
E4 – Indoor Ambient Temperature Sensor Fault
What Causes This Error: This fault occurs when the room temperature sensor gives an incorrect or no reading, which can happen due to sensor wear, disconnection, or exposure to moisture.
How to Fix The Error:
E0 – Outdoor EE Fault
What Causes This Error: Similar to the EE fault, but this one affects the outdoor unit’s memory chip, usually triggered by voltage spikes, incorrect wiring, or PCB damage in the outdoor unit.
How to Fix The Error:
E6 – Indoor and Outdoor Machine Communication Fault
What Causes This Error: This appears when the indoor and outdoor units cannot exchange signals properly, commonly caused by loose connecting wires, damaged communication cables, or a faulty PCB on either unit.
How to Fix The Error:
F1 – Compressor Starting Abnormal (Phase Failure, Reverse)
What Causes This Error: This fault triggers when the compressor fails to start correctly due to incorrect phase sequence, phase failure, low voltage, or a weak starting capacitor.
How to Fix The Error:
F2 – Compressor Out-of-Step Fault
What Causes This Error: This occurs when the compressor motor loses synchronization during operation, often linked to voltage fluctuation, an aging compressor, or electrical load issues.
How to Fix The Error:
F3 – IPM Module Fault
What Causes This Error: The Intelligent Power Module (IPM) controls compressor speed in inverter ACs, and this fault appears when the module overheats, shorts, or fails internally.
How to Fix The Error:
F4 – Compressor Shell Roof Fault/Protection
What Causes This Error: This protection activates when the compressor’s outer shell temperature rises beyond a safe limit, usually from overheating due to blocked airflow, low refrigerant, or continuous heavy operation.
How to Fix The Error:
F5 – Discharge Temperature Sensor Fault
What Causes This Error: This fault appears when the discharge line sensor, which monitors refrigerant gas temperature leaving the compressor, gives a faulty or missing reading due to sensor damage or wiring issues.
How to Fix The Error:
F6 – Suction Temperature Sensor Fault
What Causes This Error: This occurs when the suction line sensor fails to send accurate temperature data to the PCB, often due to sensor wear, disconnection, or moisture damage.
How to Fix The Error:
F7 – Outdoor Coil Temperature Sensor Fault
What Causes This Error: A faulty outdoor coil sensor cannot accurately track condenser coil temperature, which can result from sensor damage, dirt buildup, or a loose connector.
How to Fix The Error:
F8 – Outdoor Ambient Temperature Sensor Fault
What Causes This Error: This fault appears when the sensor measuring outside air temperature malfunctions, often due to wear, exposure to weather, or a damaged connector.
How to Fix The Error:
F9 – Outdoor DC Fan Fault
What Causes This Error: This occurs when the outdoor DC fan motor fails to operate correctly, commonly due to a burnt motor winding, damaged wiring, or a faulty PCB driver circuit.
How to Fix The Error:
E8 – Outdoor Communication Fault
What Causes This Error: This fault triggers when the outdoor unit cannot properly send or receive signals to the indoor unit, usually from damaged communication wires or a faulty outdoor PCB.
How to Fix The Error:
P1 – Outdoor Machine AC Current Protection
What Causes This Error: This protection activates when the outdoor unit draws excess current, often due to voltage issues, a failing compressor, or electrical overload.
How to Fix The Error:
P2 – Compressor Phase Current Protection
What Causes This Error: This appears when the compressor draws abnormal current on one or more phases, which can result from phase imbalance, wiring faults, or compressor wear.
How to Fix The Error:
P3 – Outdoor Unit Over-High/Over-Low AC Voltage Protection
What Causes This Error: This protection triggers when incoming AC voltage goes above or below the safe operating range, commonly due to grid fluctuations or an unstable power supply.
How to Fix The Error:
P4 – DC Voltage Over-High or Over-Low Voltage Protection
What Causes This Error: This fault occurs when the internal DC voltage supplied to the inverter compressor circuit falls outside safe limits, often linked to PCB issues or unstable input power.
How to Fix The Error:
P5 – IPM Over-High Temperature Protection
What Causes This Error: This protection activates when the IPM module overheats, usually from poor ventilation, dirty outdoor coils, or prolonged heavy compressor load.
How to Fix The Error:
P6 – Discharge Temperature Overheat Protection
What Causes This Error: This appears when refrigerant gas temperature at the compressor discharge line rises too high, often due to low refrigerant, dirty coils, or poor heat dissipation.
How to Fix The Error:
P7 – Cooling Indoor Coil Anti-Freezing Protection
What Causes This Error: This protection triggers when the indoor evaporator coil risks freezing, usually caused by low airflow from a dirty filter, blocked vents, or a weak blower fan.
How to Fix The Error:
P8 – Cooling Outdoor Coil Overheat Protection
What Causes This Error: This fault occurs when the outdoor condenser coil overheats during cooling mode, often from dirt buildup, blocked airflow, or a weak outdoor fan.
How to Fix The Error:
P9 – Heating Indoor Coil Overheat Protection
What Causes This Error: This protection activates when the indoor coil temperature rises too high during heating mode, which can happen due to blocked airflow or a malfunctioning sensor.
How to Fix The Error:
PC – Cooling Outdoor Ambient Temperature Over-Low Protection
What Causes This Error: This protection appears when outdoor temperature drops too low for the compressor to operate safely in cooling mode, which is often a normal safety response in cold weather.
How to Fix The Error:
PH – Heating Outdoor Ambient Temperature Over-High Protection
What Causes This Error: This protection triggers when outdoor temperature is too high for safe heating mode operation, generally a built-in safeguard rather than a fault.
How to Fix The Error:
L1 – Drive Bus Voltage Over-High Protection
What Causes This Error: This fault appears when the internal drive circuit voltage exceeds safe limits, often due to voltage spikes or an unstable power supply reaching the outdoor unit.
How to Fix The Error:
L2 – Drive Bus Voltage Over-Low Protection
What Causes This Error: This occurs when the internal drive circuit voltage drops below the safe operating range, commonly linked to low incoming voltage or wiring issues.
How to Fix The Error:
L3 – Drive Phase Current Overload Fault
What Causes This Error: This fault triggers when the compressor draws excess current on one of its phases, often from compressor strain, wiring faults, or electrical overload.
How to Fix The Error:
L4 – Phase Current Sampling Abnormal
What Causes This Error: This appears when the PCB cannot accurately read compressor phase current, usually due to a faulty current sensor or damaged PCB component.
How to Fix The Error:
Troubleshoot for Most Common Electrolux AC Problems
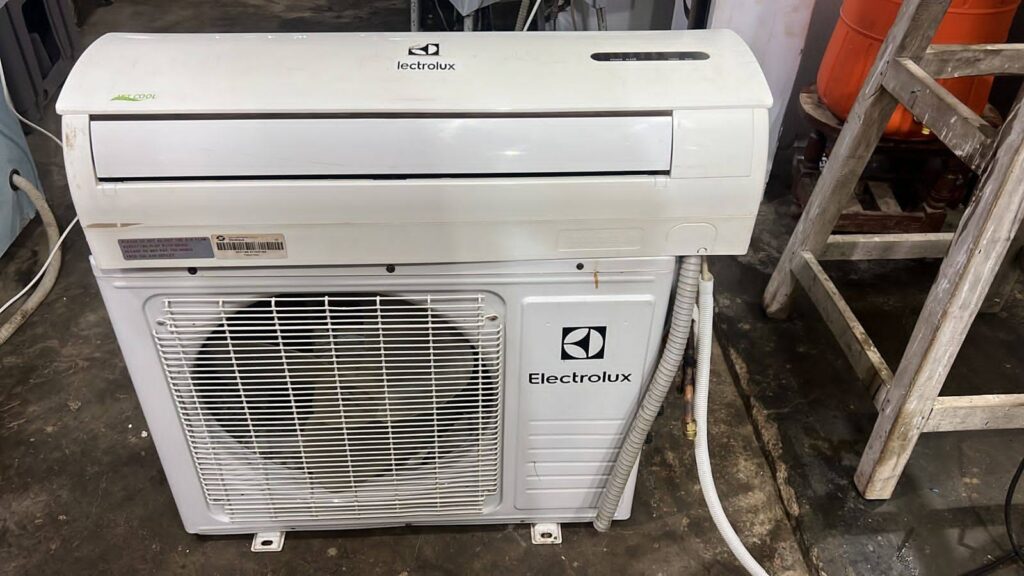
Creaking Noise Can Be Heard When Starting or Stopping the AC
This is caused by the deformation of plastic parts due to temperature changes and is considered normal.
Possible Causes:
What to Do:
The AC Unit Does Not Run
Possible Causes:
What to Do:
For your expired warranty Electrolux AC & other appliance repair contact Electrolux service centre in Kolkata for sameday doorstep repair service.
Cooling or Heating Performance Is Poor
Possible Causes:
What to Do:
Wireless Remote Control Is Not Working
Possible Causes:
What to Do:
Water Is Leaking Indoors From the AC
Possible Causes:
What to Do:
Water Is Leaking From the Outdoor Unit
Possible Causes:
What to Do:
Noise Is Coming From the Indoor Unit
Possible Causes:
What to Do:
The Indoor Unit Does Not Blow Air
Possible Causes:
What to Do:
Moisture Appears on the Air Outlet Vent
Possible Causes:
What to Do:
Error codes make AC troubleshooting faster by pointing to the exact problem instead of leaving you guessing. Start with simple steps first: power reset, filter cleaning, and checking airflow around indoor and outdoor units.
If compressor, PCB, or voltage-related codes like F1, F3, or P3 appear, avoid restarting the unit repeatedly, as this can worsen the damage. If the same error returns or the AC keeps malfunctioning, get professional diagnosis promptly to prevent costlier repairs.


